Designing a product for print isn’t always the same as designing for digital screens. Print has its own rules, sizes, spacing, and color requirements, that make the process unique. But here’s the good news: creating something beautiful and professional is no longer complicated. With the right tools and a little guidance, you can easily bring your ideas to life and design your custom product exactly the way you imagine it.
At AmazingPrint, our goal is to make this process simple, enjoyable, and inspiring for you. Whether you’re creating a personalized gift, a promotional item for your business, or a one-of-a-kind keepsake, we’ve put together some friendly tips that will help you get started with confidence.
Start with the Right Tools
Every great design begins with the right software to learn to design your custom product. If you’re working on layouts for cards, flyers, or booklets, desktop publishing programs like Adobe InDesign or Affinity Publisher can make your life easier. If your focus is on graphics or logos, tools such as Adobe Illustrator, Photoshop, or CorelDraw are perfect for creating sharp, professional designs. And for quick writing or basic layouts, even simple programs like Microsoft Word or Google Docs can do the trick. as 3D Diy Acrylic Mirror Wall Round Shape Stickers
Think of it this way: each tool has a role to play. Use design software to create visuals, publishing software to arrange them, and word processors to keep your content polished. When combined, they give you the power to craft a product that looks just the way you envisioned.
Pay Attention to Color
One of the biggest differences between digital and print design is color. Screens use RGB light, while printers use CMYK inks. This means what looks bright on your laptop may appear slightly different when printed. To get the best results, always design in CMYK mode so your final product stays true to your vision. And if you want perfect accuracy, consider requesting a print proof before the full production, it’s the best way to see how your colors will look in real life.
Design with the Final Product in Mind
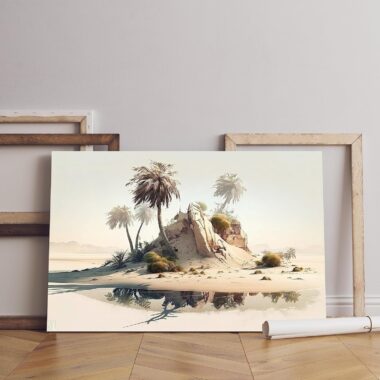
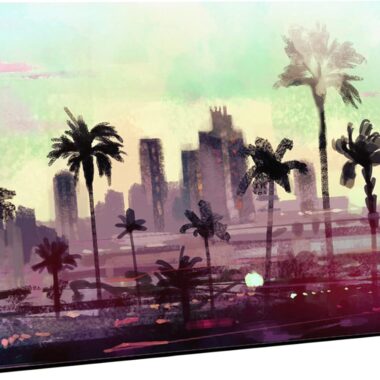
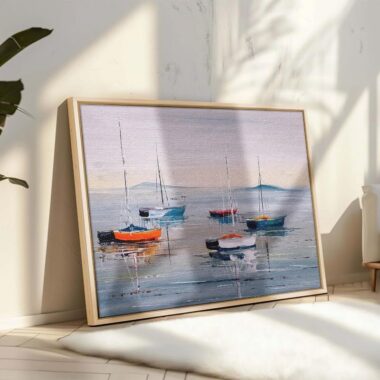
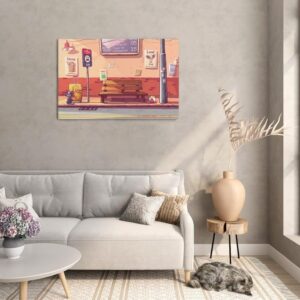
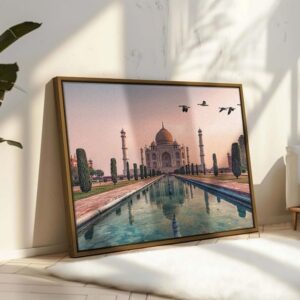
When you design your custom product and customized gifts for occasions, think about how it will be used. Is it a business card meant to make a lasting impression? A personalized mug that will be someone’s daily favorite? Or a canvas print to brighten up a room? Keeping the final product in mind helps you choose the right layout, materials, and finishing touches from the very beginning.
Build Your Design Toolbox
Besides software, a few small tools can make your creative process smoother. A sturdy ruler, a cutting mat, and even a home printer for test runs can be incredibly helpful.
If you’re serious about color, Pantone color guides are an excellent investment. And don’t forget the value of stock photos and fonts, sometimes the perfect image or typeface can completely elevate your design with AmazingPrint
Most Importantly, Enjoy the Process
The best part about working with AmazingPrint is that you’re in control. You don’t have to be a professional designer to create something amazing. The joy is in the process, experimenting with colors, layouts, and styles until you’ve created a product that feels personal and truly yours as Canvas Printed Words Coffee Cup Shopping Tote Bag
Think About the Final Product from the Start
When you begin designing, always picture the finished item in your hands. Designing a sleek business card is a completely different journey from creating a book, a banner, or even a custom brochure. Each product comes with its own details, folds, and finishing touches.
A great way to get started is by sketching your ideas. Simple doodles help you figure out where each element will go and how your design will interact with cuts, folds, or creases. Want to take it a step further? Create a quick mockup.
Fold, cut, and tape plain sheets of paper together to build a physical “dummy” of your design. This gives you a real sense of size, shape, and flow, making it easier to perfect your idea before you send it to print. With AmazingPrint, we make this step exciting because you can easily design your custom product with the final look in mind. Also View: Battery Magic Mug Positive Energy Color Changing
Get Inspired by What’s Around You
Inspiration in design your custom product is everywhere, you just need to notice it. Think about how many printed products you come across each day: a flyer in your mailbox, a product package at the store, or a beautifully designed business card from a colleague. Why not turn these into your personal design library?
Start a small collection of printed samples you admire and keep them handy. Notice the details: Do they use bold colors or minimal palettes? Are they glossy or matte? How do they balance text and images? Observing these real-world examples will spark fresh ideas for your own projects and guide you in making choices that feel professional and polished.
Choose the Right Size and Spacing
The size of your design matters more than you might think. Business cards are usually small and compact at 2” x 3.5”, while postcards, posters, and brochures follow different standard sizes. Getting the size right from the start saves time and avoids costly adjustments later.
But it’s not just about the dimensions, you also need to consider margins. Two key terms to remember are “safety margin” and “bleed.” The safety margin is like a protective zone inside your design. Keep important details, like text and logos, within this area so they won’t be trimmed off.
The bleed margin is an extra edge around your design that ensures the background color or image reaches the very edge after cutting. Without it, you risk white lines showing up where they shouldn’t.
Keep It Consistent
Consistency in design your custom product is what transforms a good design into a great one. Whether you’re working on a set of invitations, a marketing campaign, or branded merchandise, make sure your fonts, colors, and layouts align throughout as ABYSTYLE Hunter x Hunter Kirua Ceramic Coffee Tea Mug
Here’s a little trick: keep all your design elements neatly organized in one folder. That way, linked files like logos or icons don’t go missing. It’s also helpful to jot down the colors, fonts, and spacing you’re using so you can recreate the same look later without guessing.
The more consistent your design is, the more professional and memorable it will feel, and that’s exactly what makes personalized products stand out.
At AmazingPrint,
We believe designing should be fun, creative, and stress-free. Whether you’re sketching your first draft, collecting inspiration, or polishing the final touches, we’re here to help you every step of the way. With us, it’s easy and enjoyable to design your custom product and turn your vision into something you can hold, share, and treasure.